Top Locations to Add Images
From hero images to detailed posters, Spinzo offers several places to add images. Choosing the right placement can enhance the page's look and feel while highlighting key details or branding. *Note: This article excludes logo placement and focuses on larger images used through the page.
Recommended Image Locations
Headline Info
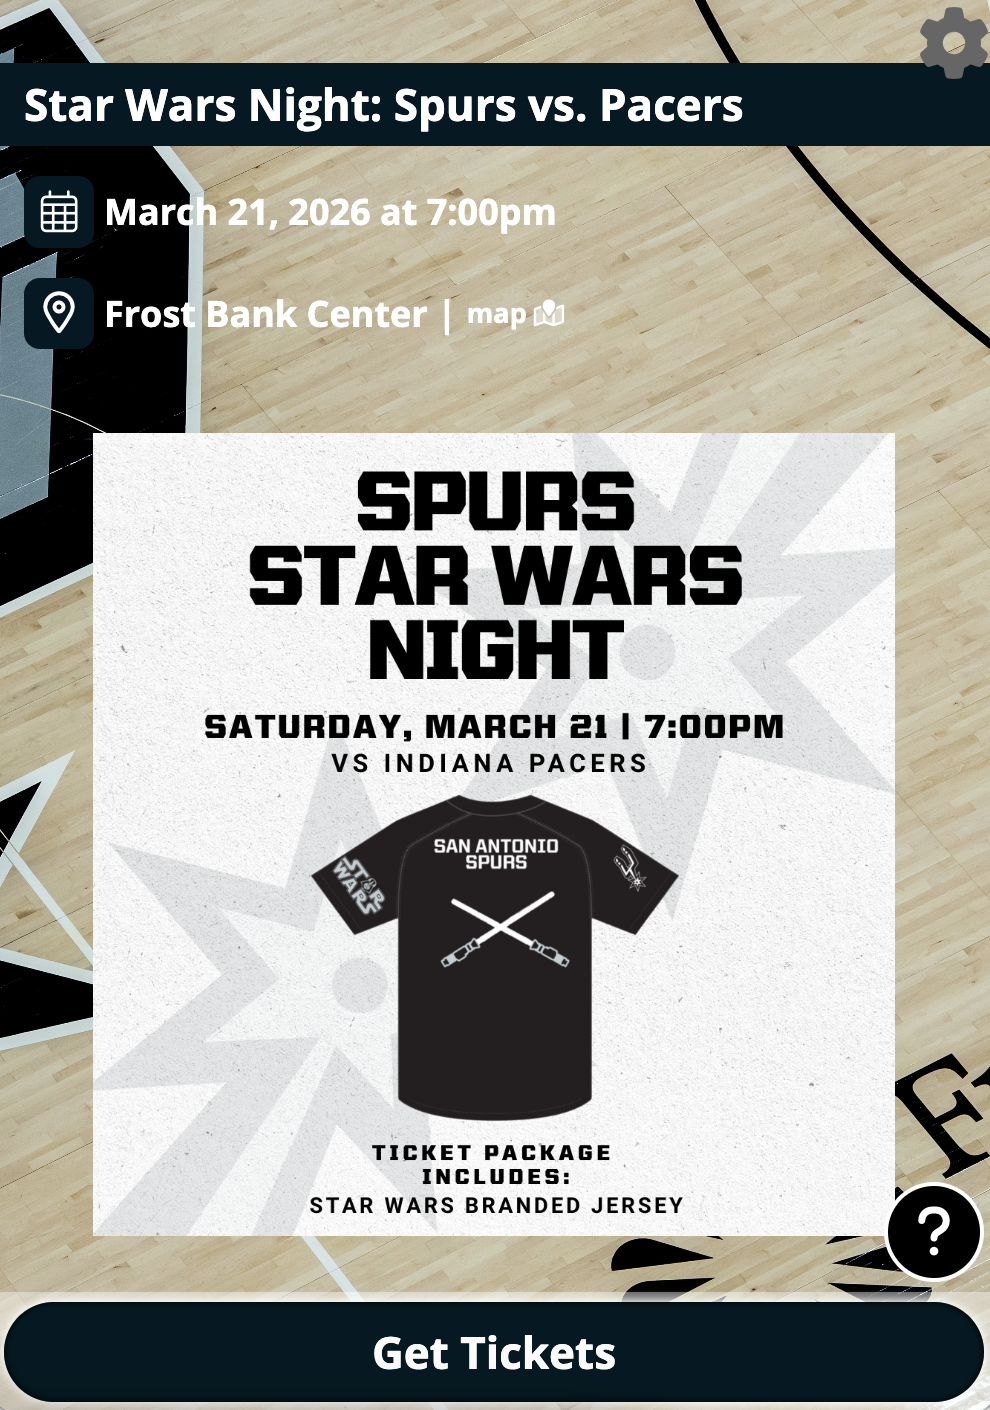
The "Headline Info" section is typically used for event descriptions, but it's also great place to feature an image or a poster. Some clients include both text and an image, while others let the image stand on its own.
To add an image to the "Headline Info" space follow the steps below.
Step 1: Decide where the image should be at the Group Level or Sales Event Level. For Group Level, select "Edit" at and scroll down to "Headline Info" For Sales Event Level, open the sales event and click "Headline Info."
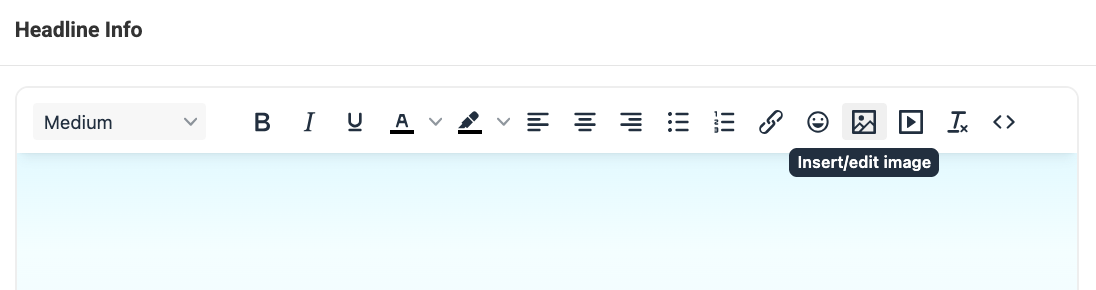
Step 2: In the "Headline Info" section, click the image icon. If you hover over it, it will read "Insert/edit image."
Step 3: Upload the image, then resize, center, or add a description.
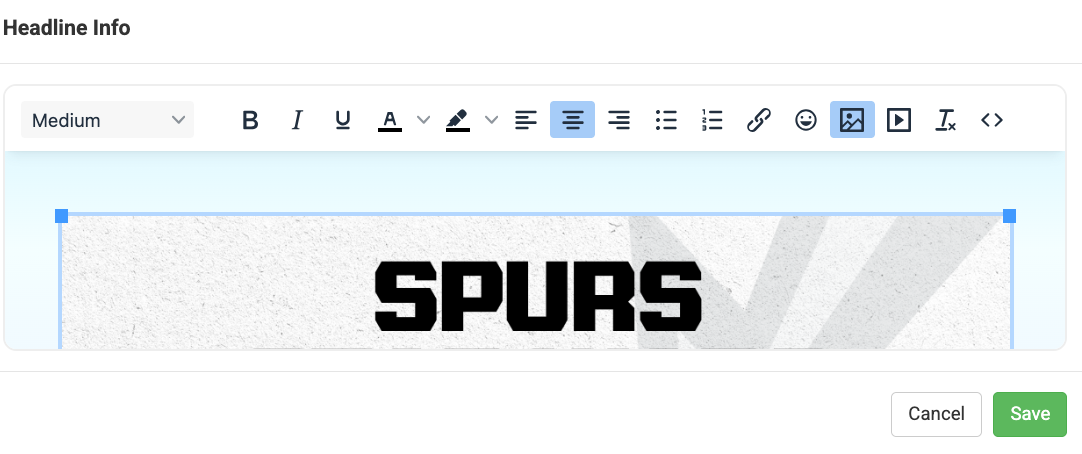
Step 4: Click "Save" and review the promotion page.
More Info
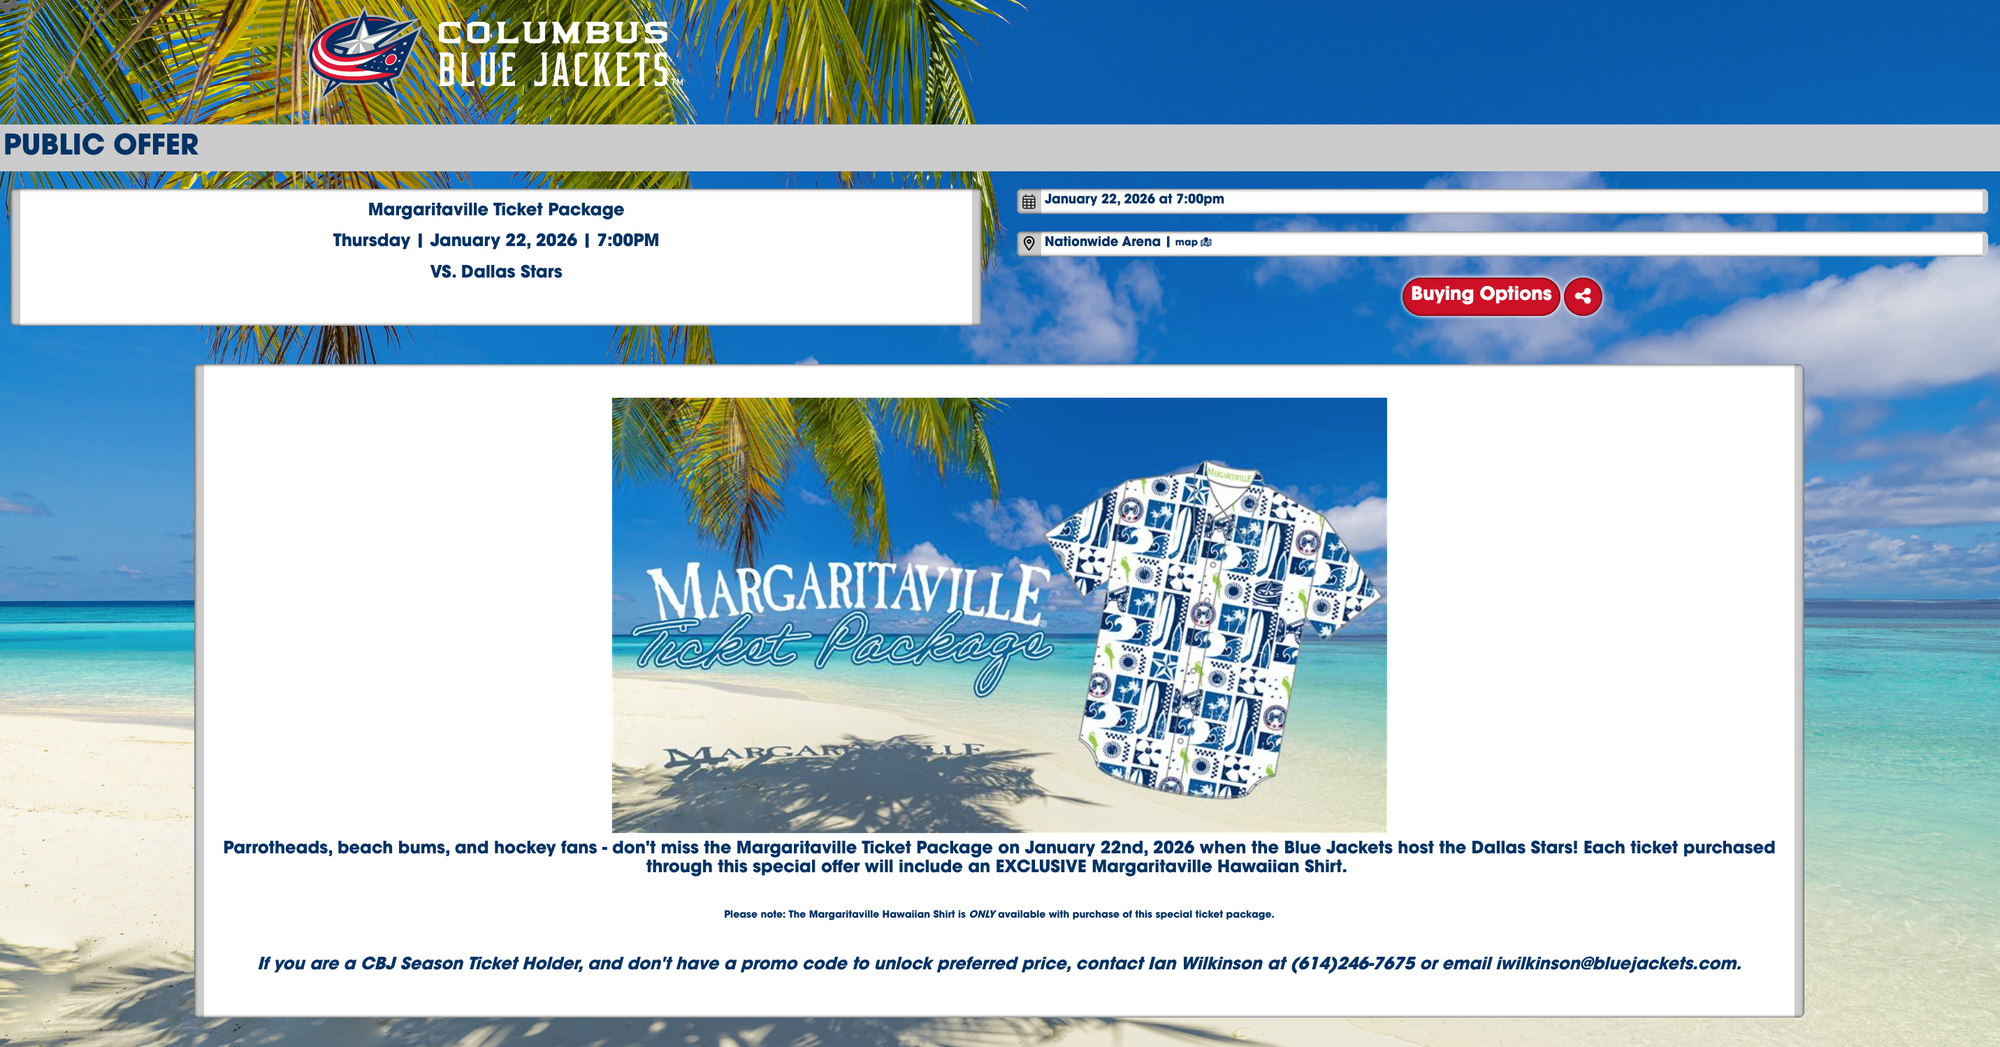
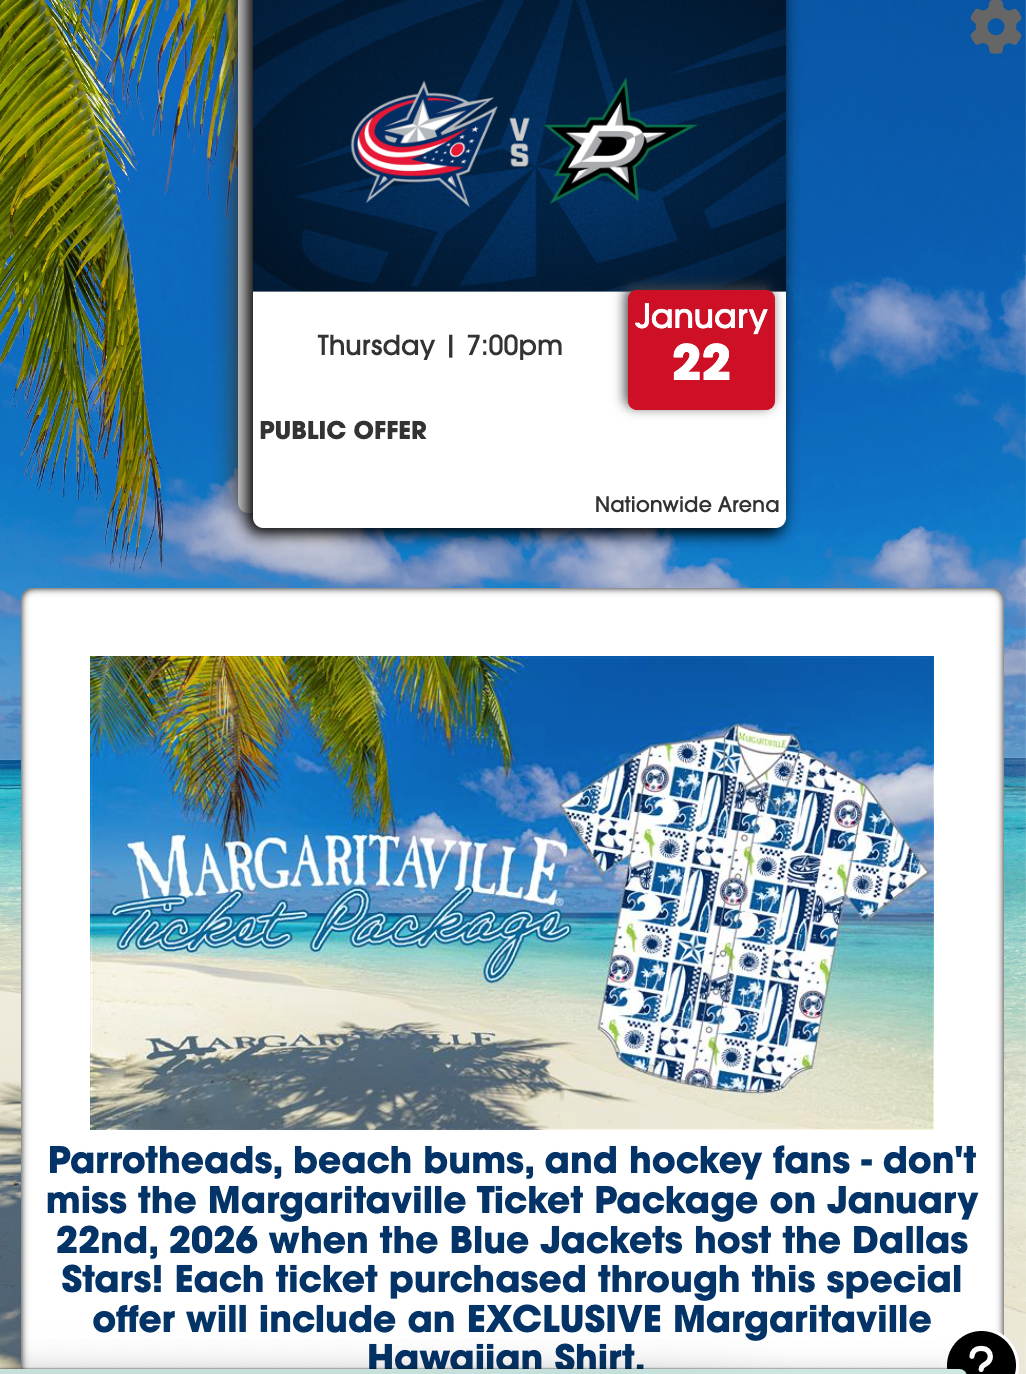
Similar to the "Headline Info" the "More Info" section can elevate the page visually, By default, it appears near the bottom of a promotion, but can be repositioned if needed.
To add an image to "More Info" follow these steps:
Step 1: Choose Group Level or Sales Event Level placement. For Group Level, select "Edit" and scroll to the bottom. For Sales Event Level, open the sales event and click "More Info."
Step 2: Click the image icon that reads "Insert/edit image."

Step 3: Upload and adjust the image as needed.
Step 4: Click "Save" and check the promotion page.
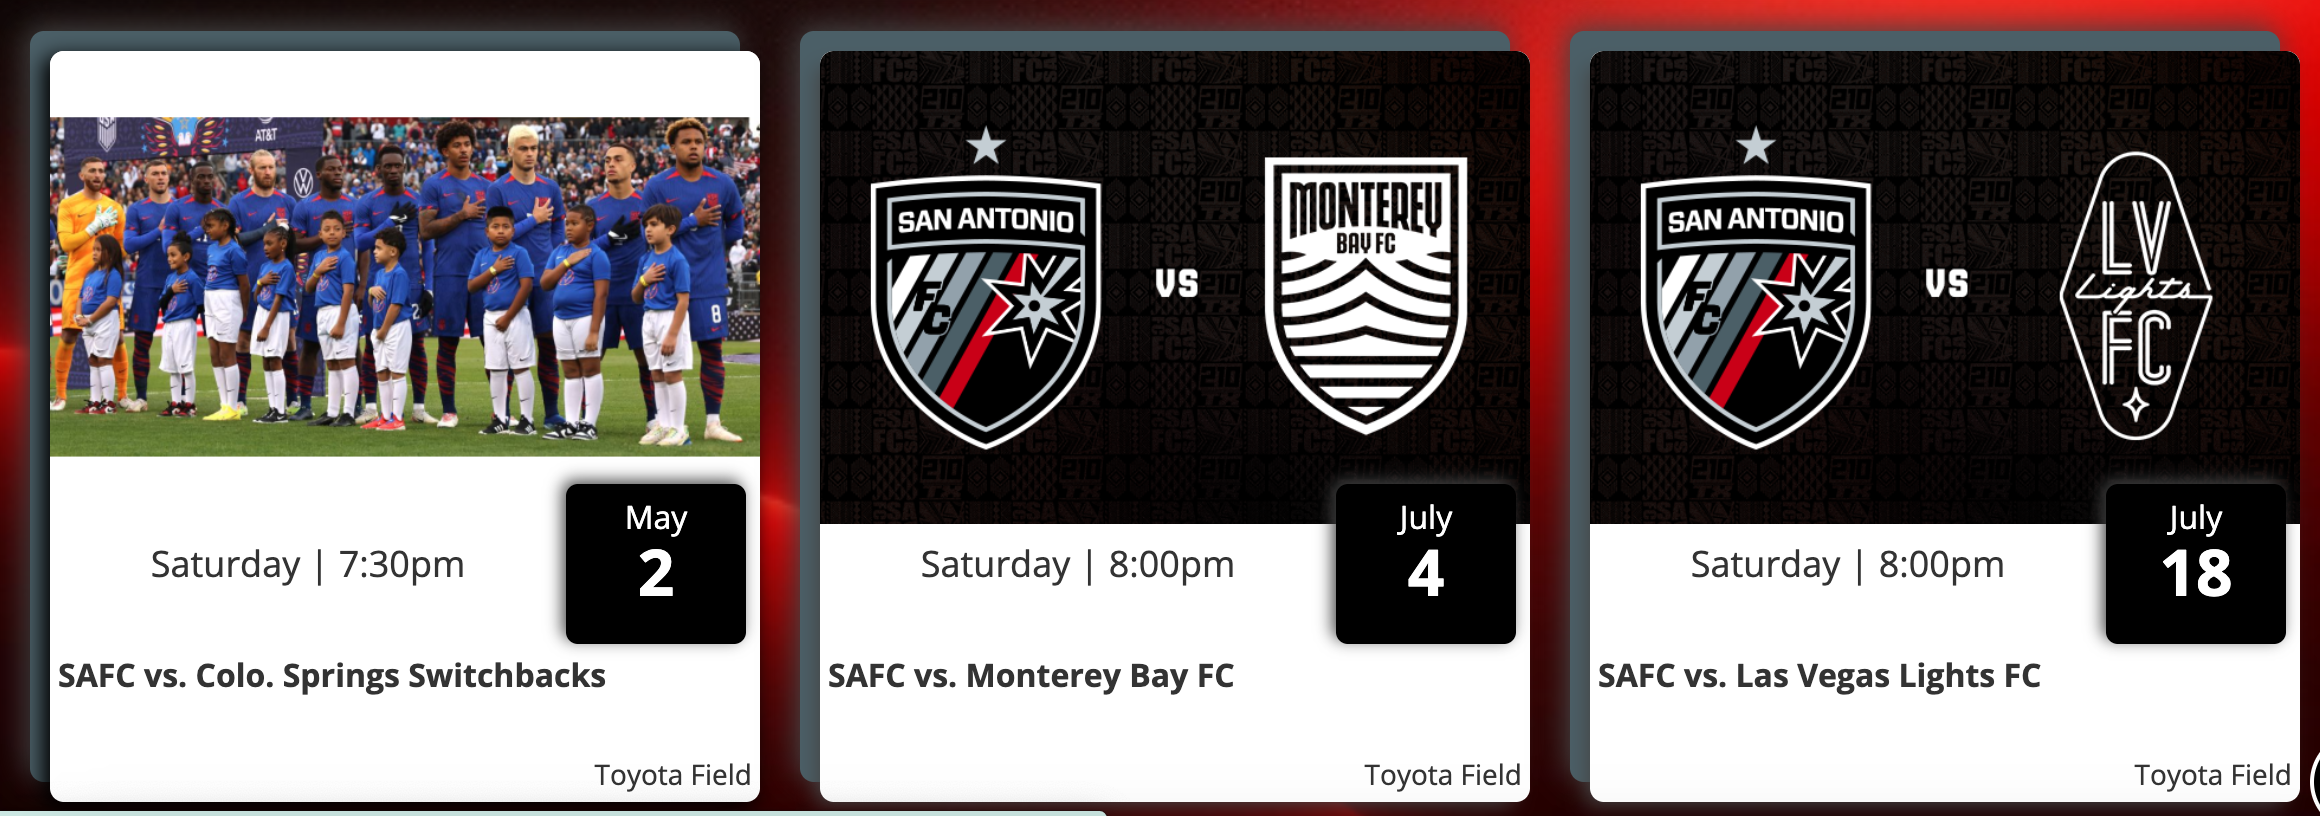
Listing Images
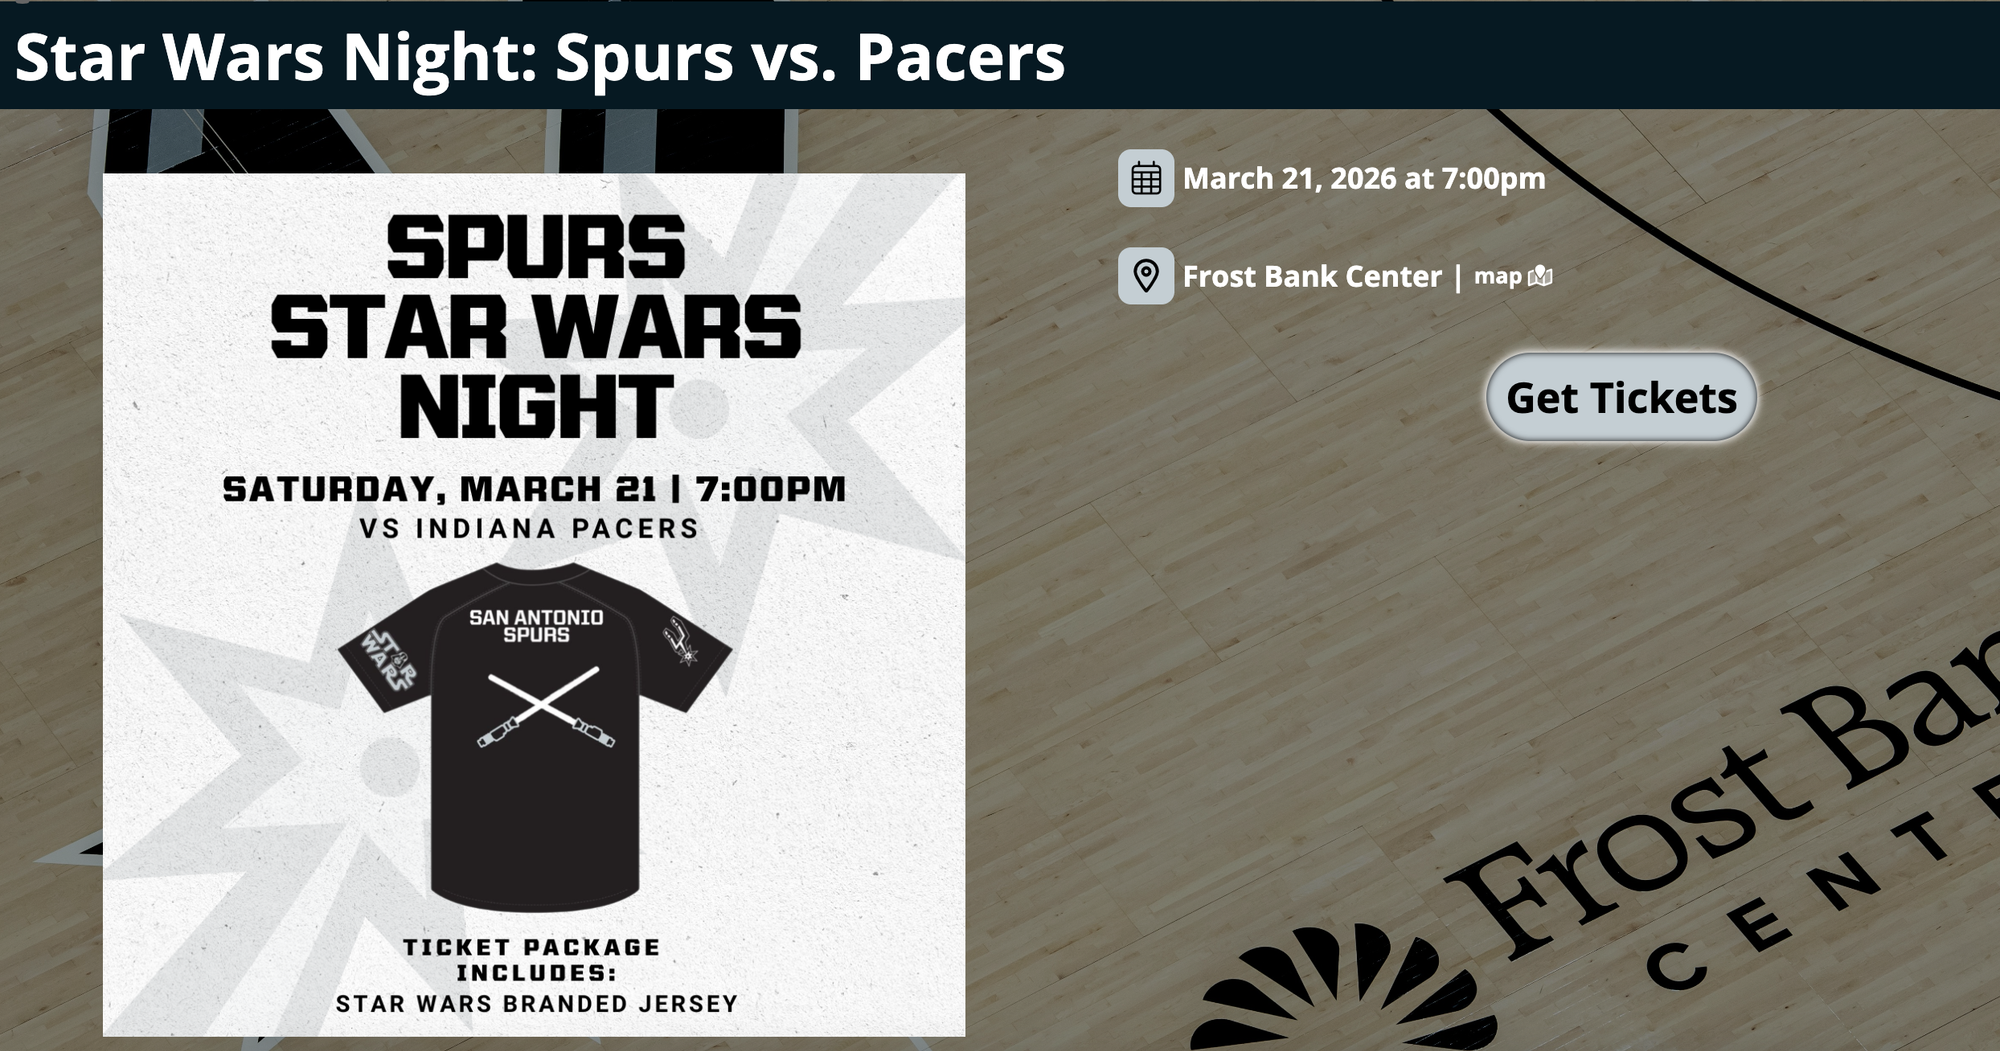
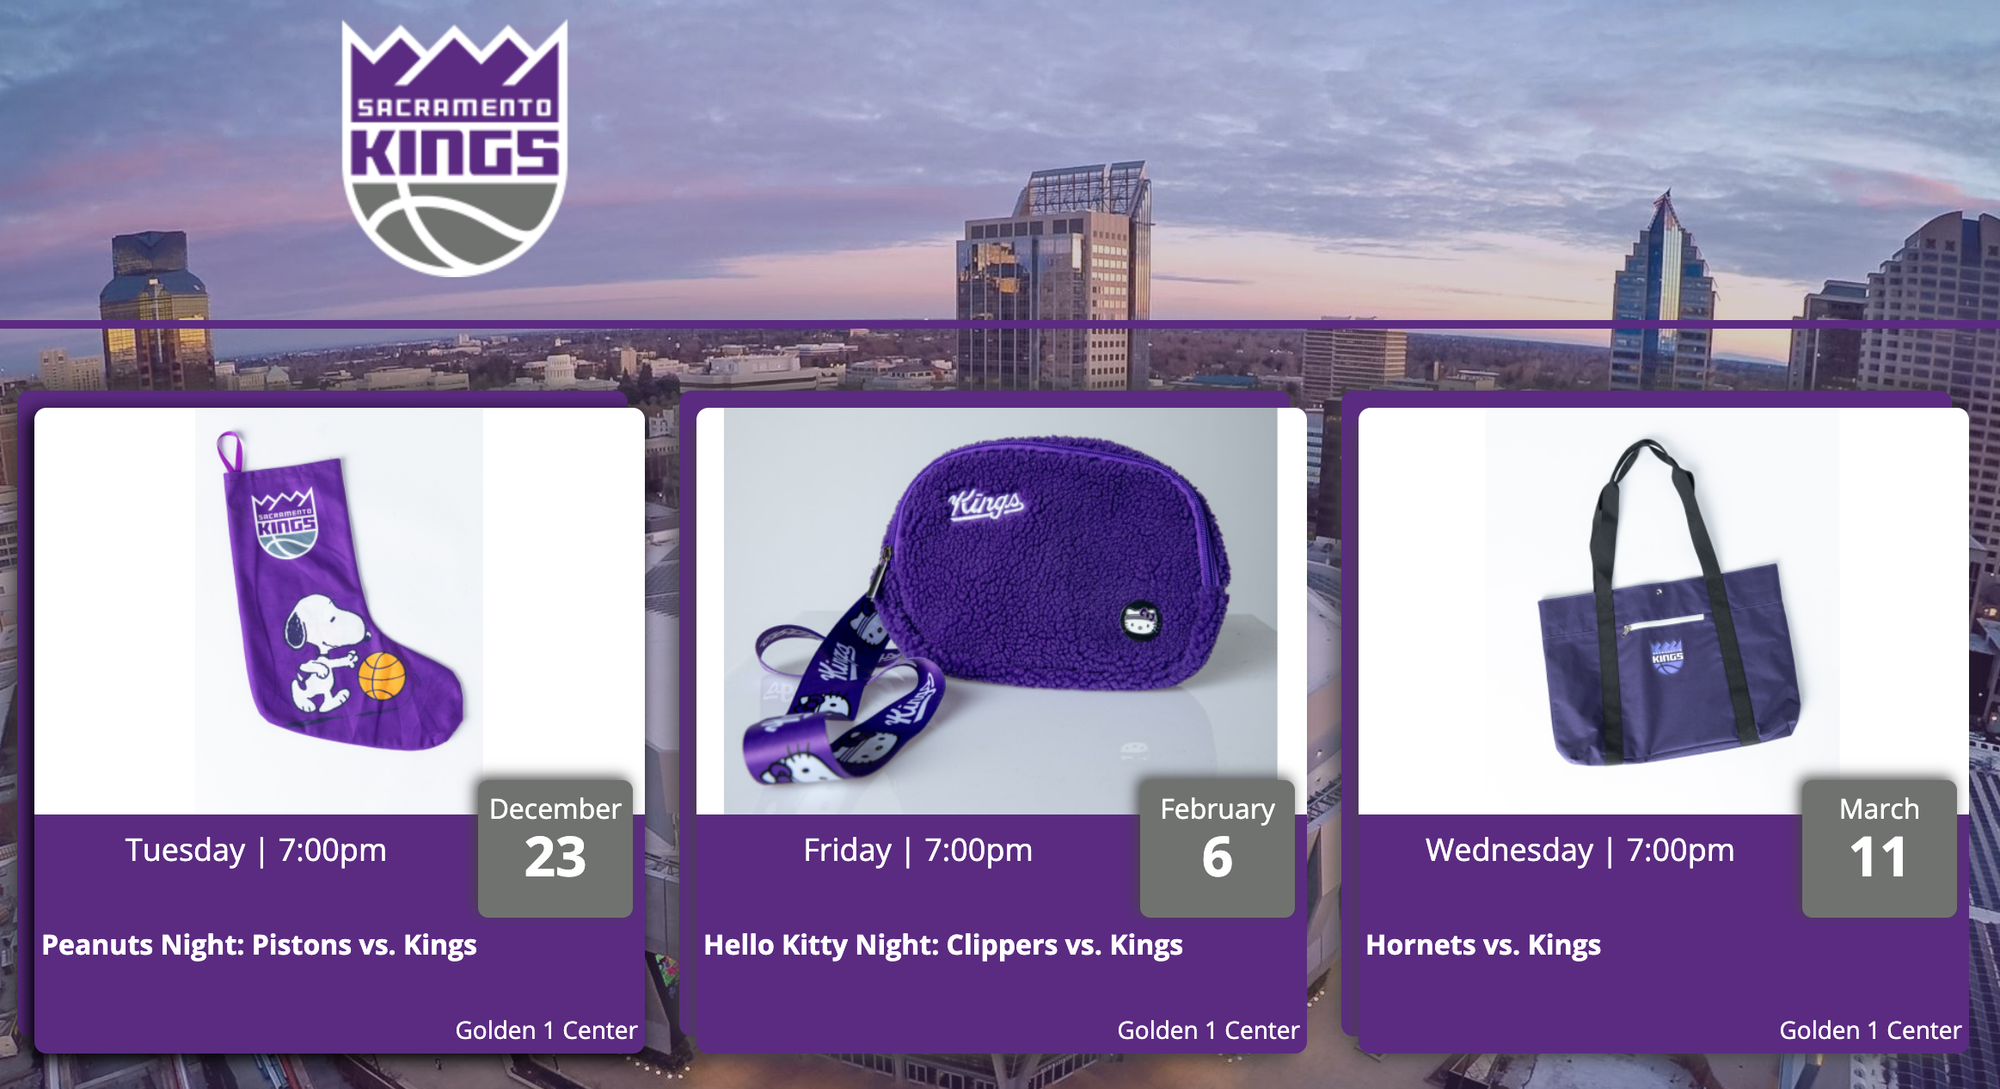
Listing images are often used for match-up images, and many teams set the match-up images as the default for a season. However, these images can be updated to better reflect specific promotions like merchandise giveaways, fan experiences, or sponsored events.
To add or update a Listing Image follow these steps:
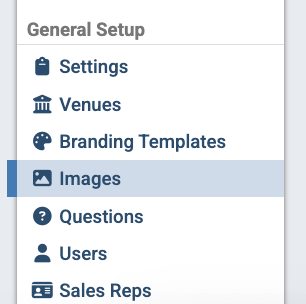
Step 1: Go to the "Images" tab in the left-side menu under "General Setup." It's located below "Branding Templates."
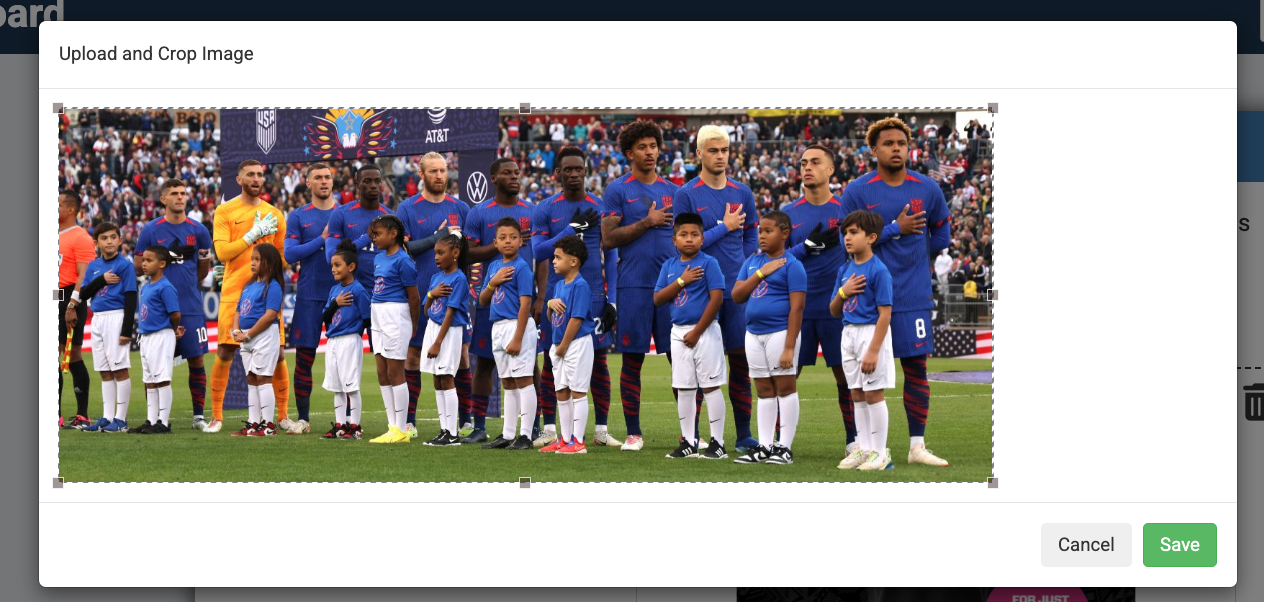
Step 2: Click "Add Image" and select an email from your computer.
Step 3: Crop and save the image.
Step 4: Open the group/promotion page and locate the "Listing Image" icon next to the Event Time).

Step 5: Add the image. The icon will turn green once applied.

Step 6: Review the promotion to ensure the image displays correctly.
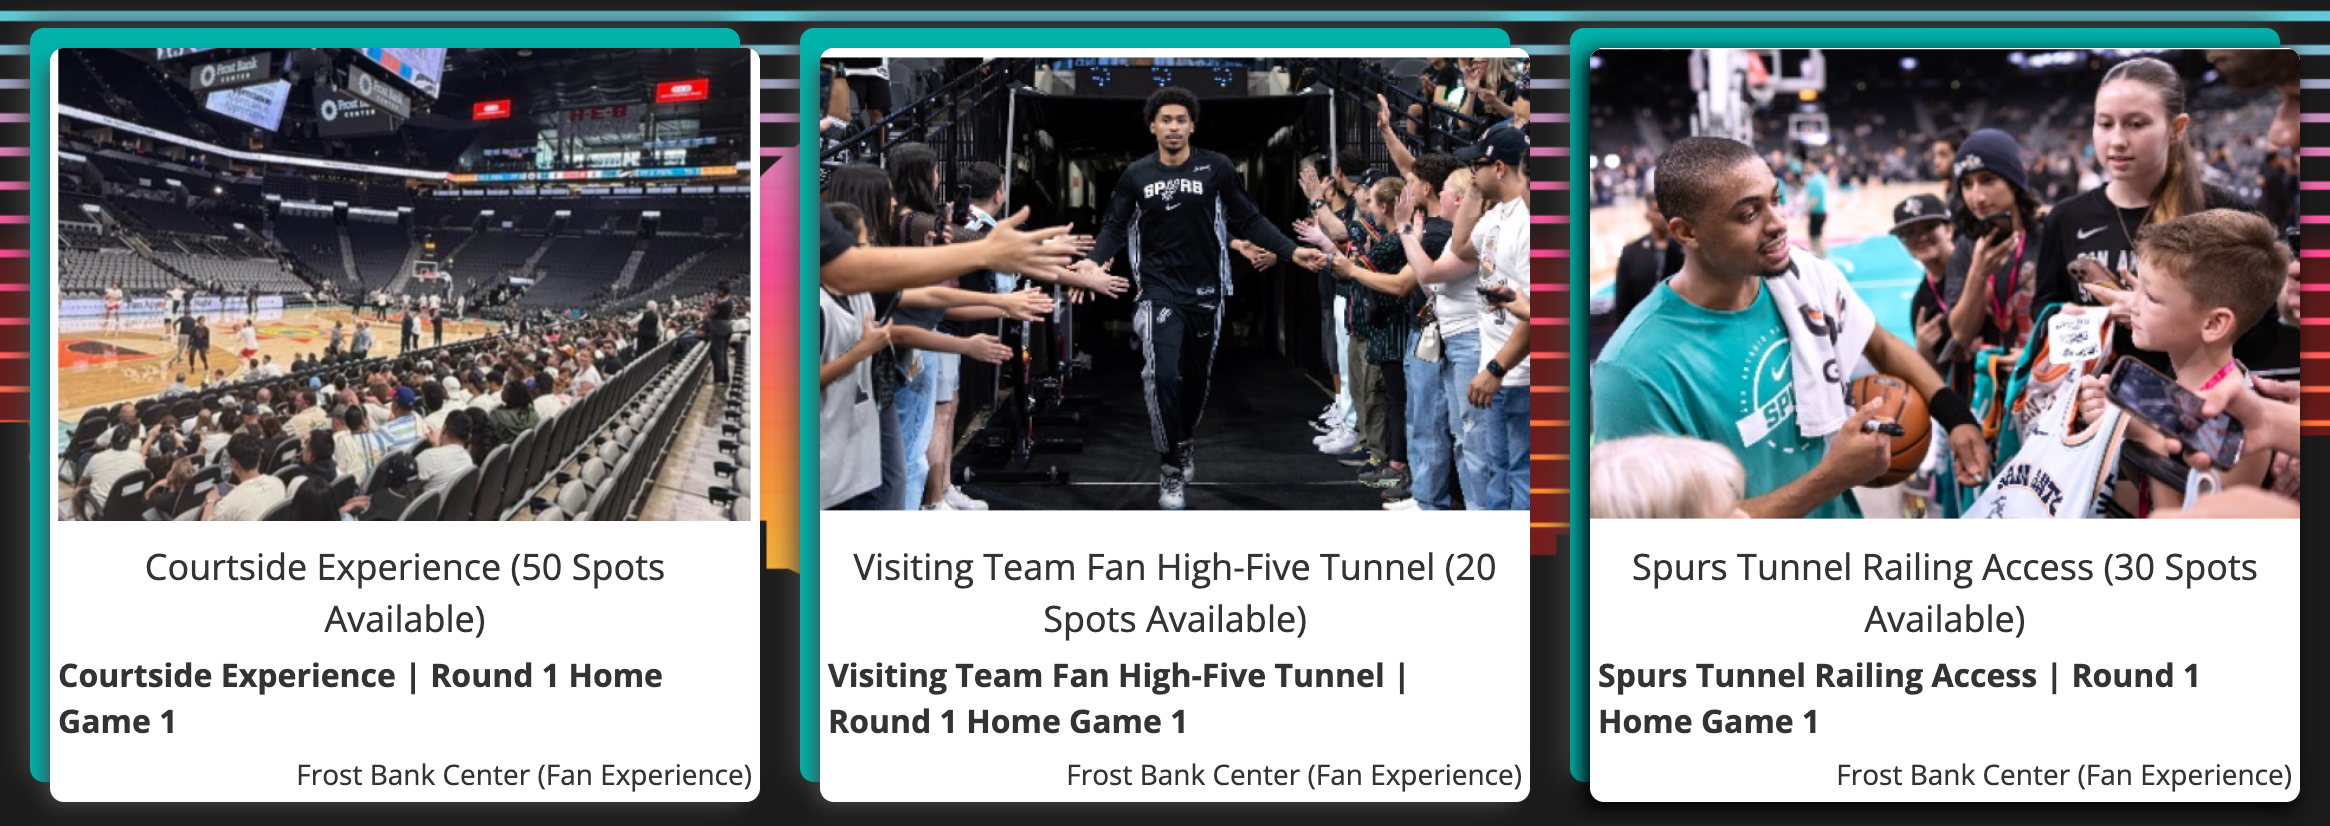
Images for Sales Events
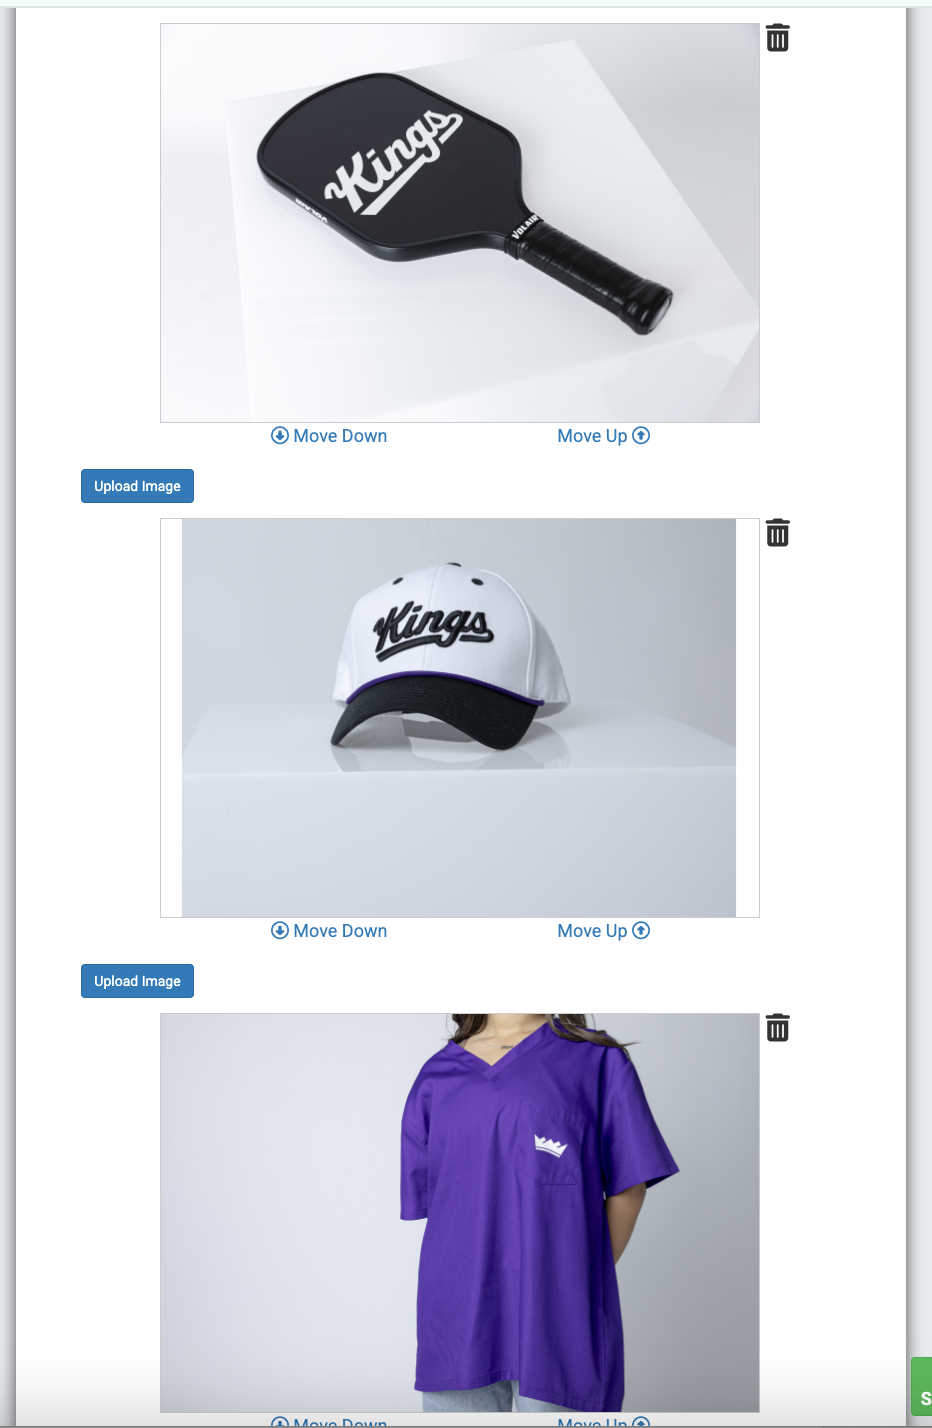
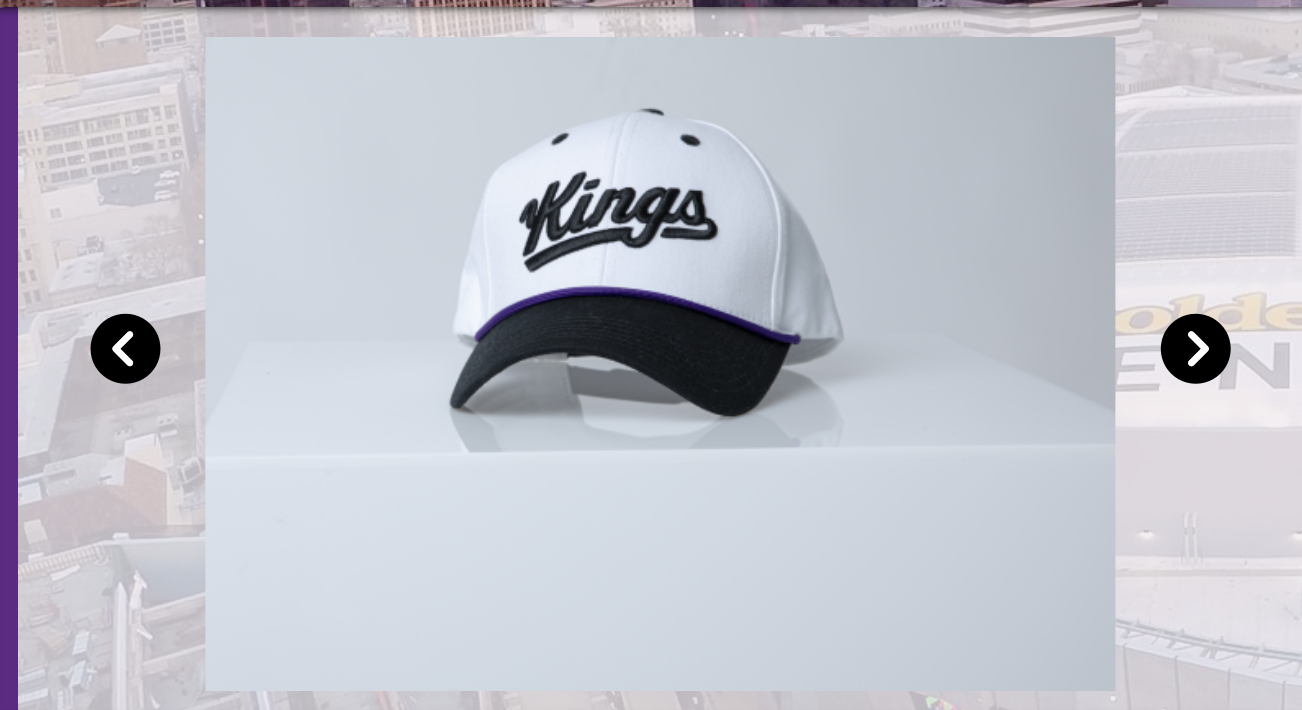
Images for Sales Events feature allows you to add multiple images that display in a reel. This is a great way to showcase a variety of visuals related to the group or event.
To add Images for Sales Events follow these steps:
Step 1: Open the sales event and click "Edit."
Step 2: Scroll to the bottom of the page and locate "Images for this sales event." It's located below "YouTube Video Link."
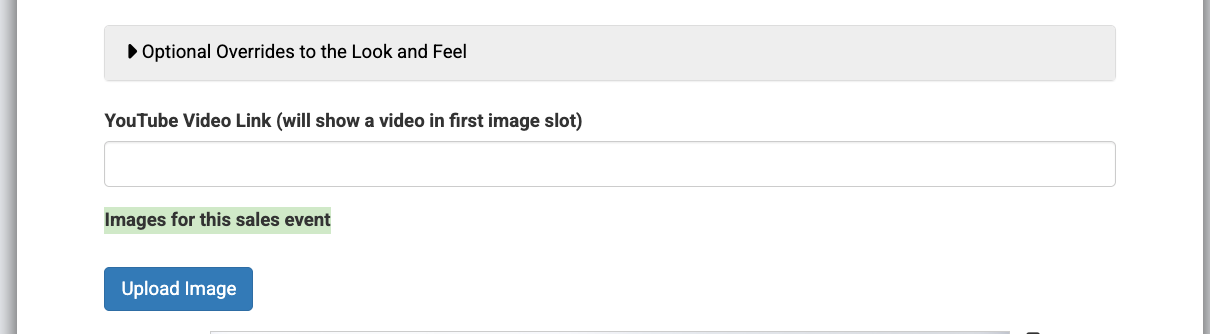
Step 3: Click "Add Image", then crop and save. Repeat this step for each image.
Step 4: Click "Save." Then review the promotion page.
Adding images throughout your promotion page helps create a more engaging and visually appealing experience. By using the right placement, you can highlight key details and better capture your audience's attention.