How To Pull Seats From Account Reserve

At times, it might be necessary to pull in seats from a reserved account in Archtics as opposed to pulling from a hold class or list of hold classes. To sell an offer using seats in reserve, please follow the steps below.
Step 1: After creating a group and adding a sales event, click "Create Offer."
Step 2: Enter the "Ticket Class" that matches the seats on reserve.
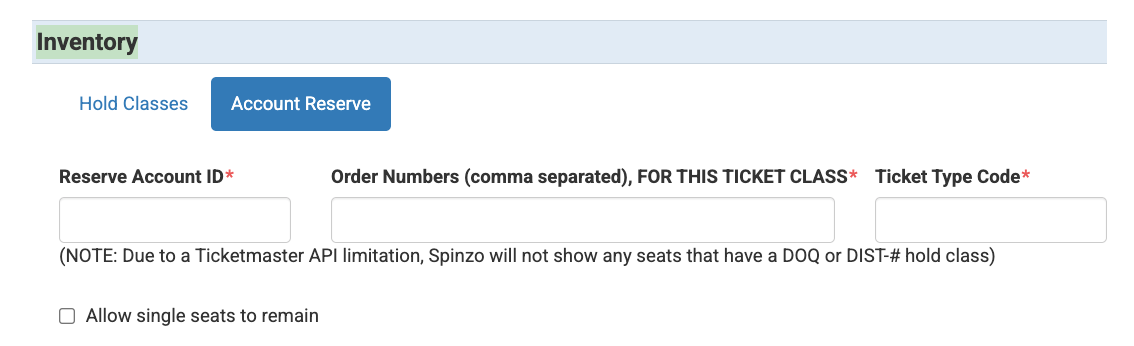
Step 3: Under "Inventory", select "Account Reserve." This will switch the blue box from "Hold Classes" over to "Account Reserve" as seen below.
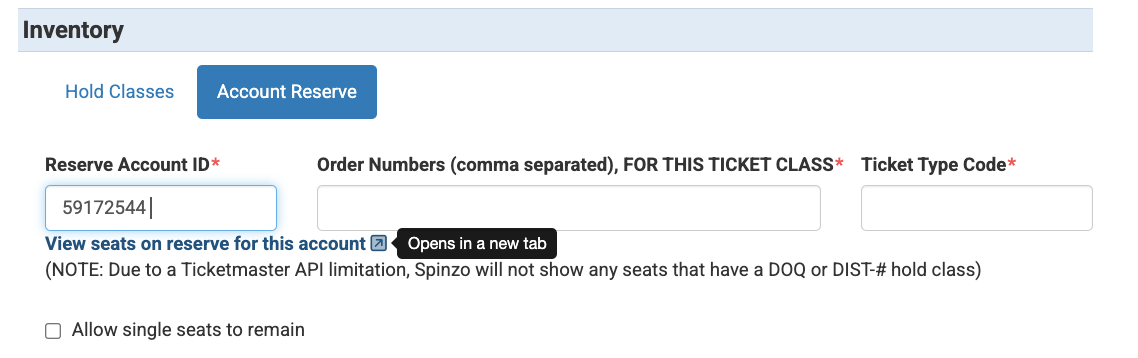
Step 4: In the "Reserve Account ID" box, enter the Archtics ID for the account where the tickets are on reserve. Once entered, an option to view the inventory will appear just below the "Reserve Account ID" box. Feel free to select "View seats on reserve for this account" to confirm the inventory and pull the "Order Numbers."

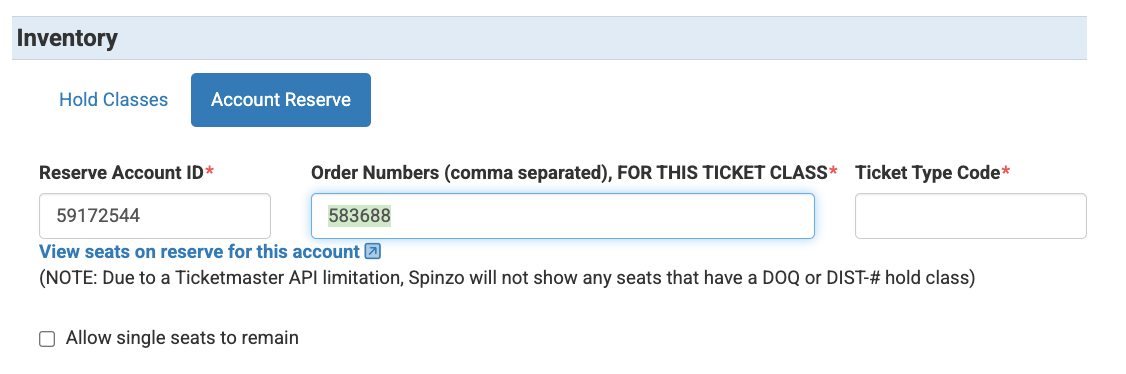
Step 5: Enter the order numbers for the inventory being added. The "Order Numbers" can be pulled from Archtics or can be pulled from the page that comes up when clicking on "View seats on reserve for this account. Multiple "Order Numbers" can be added, as long as they match the selected ticket class. Note: Please make sure the "Order Numbers" are specific for the "Ticket Class" that was selected. "Order Numbers" should not be the same for multiple ticket classes or price points.
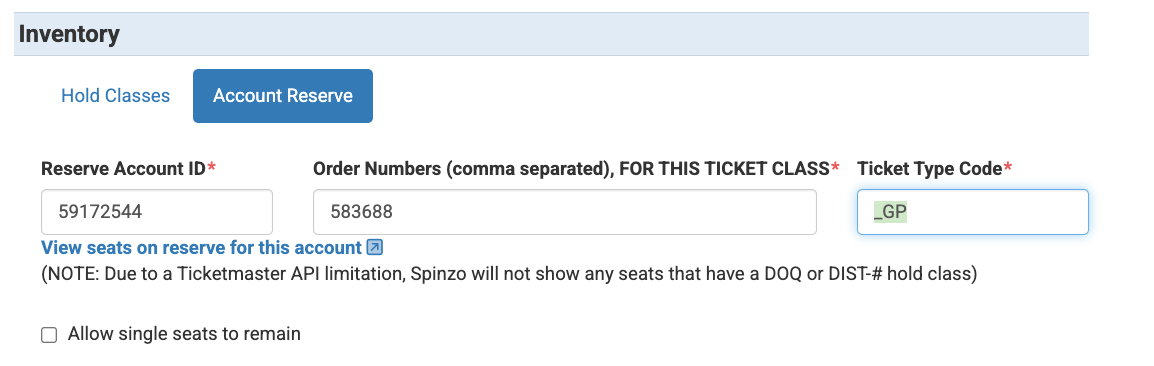
Step 6: Enter the ticket type. The ticket type that is added will be the ticket type that needs to be pushed into Archtics after a purchase is made. Not sure what a the difference between a Ticket Type and Price Code is, reference this article. Note: For one or two character ticket types, a underscore must be added followed by the characters. For three character ticket type, it will need to be just the three characters.
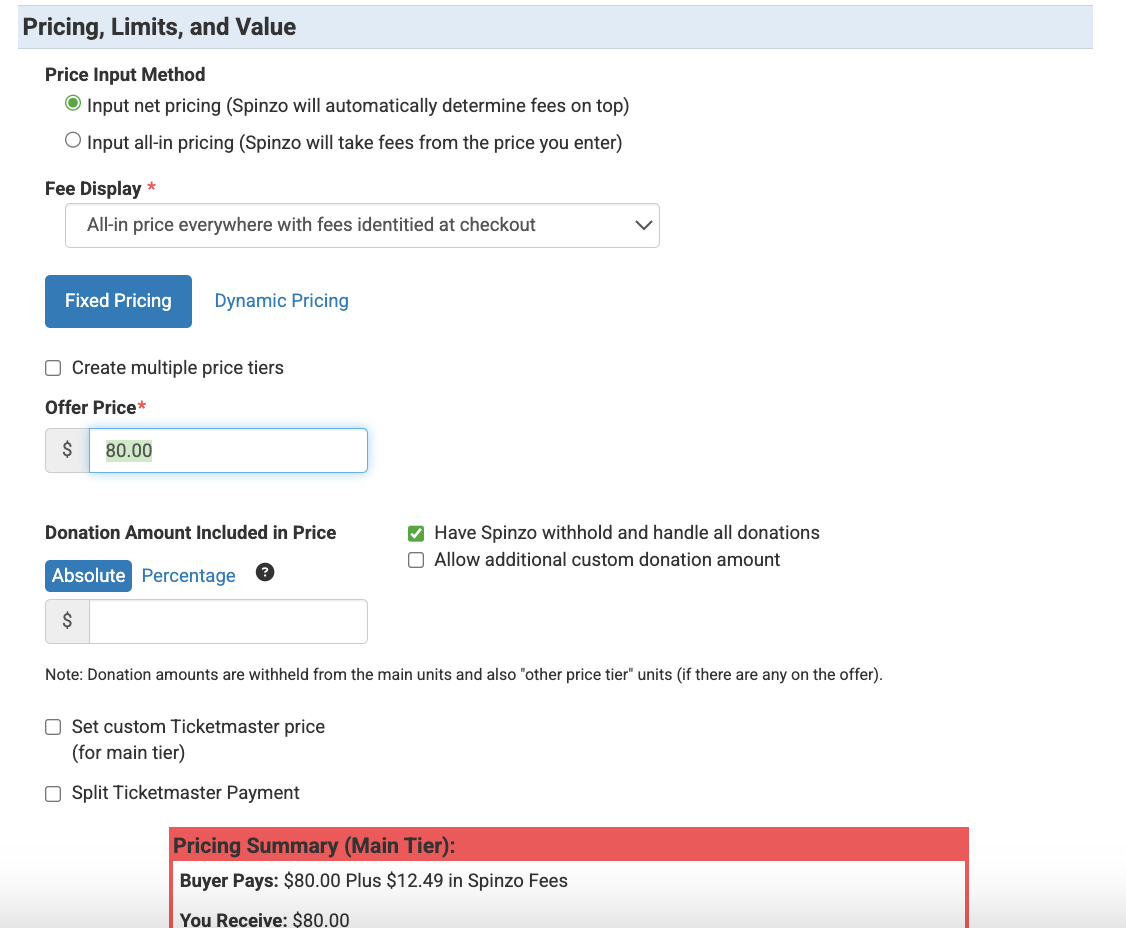
Step 7: Under Pricing, Limits, and Value, enter the price the customer should be charged before fees. For "Fixed Pricing" enter the dollar amount to the "Offer Price" box.
Fixed Pricing Example
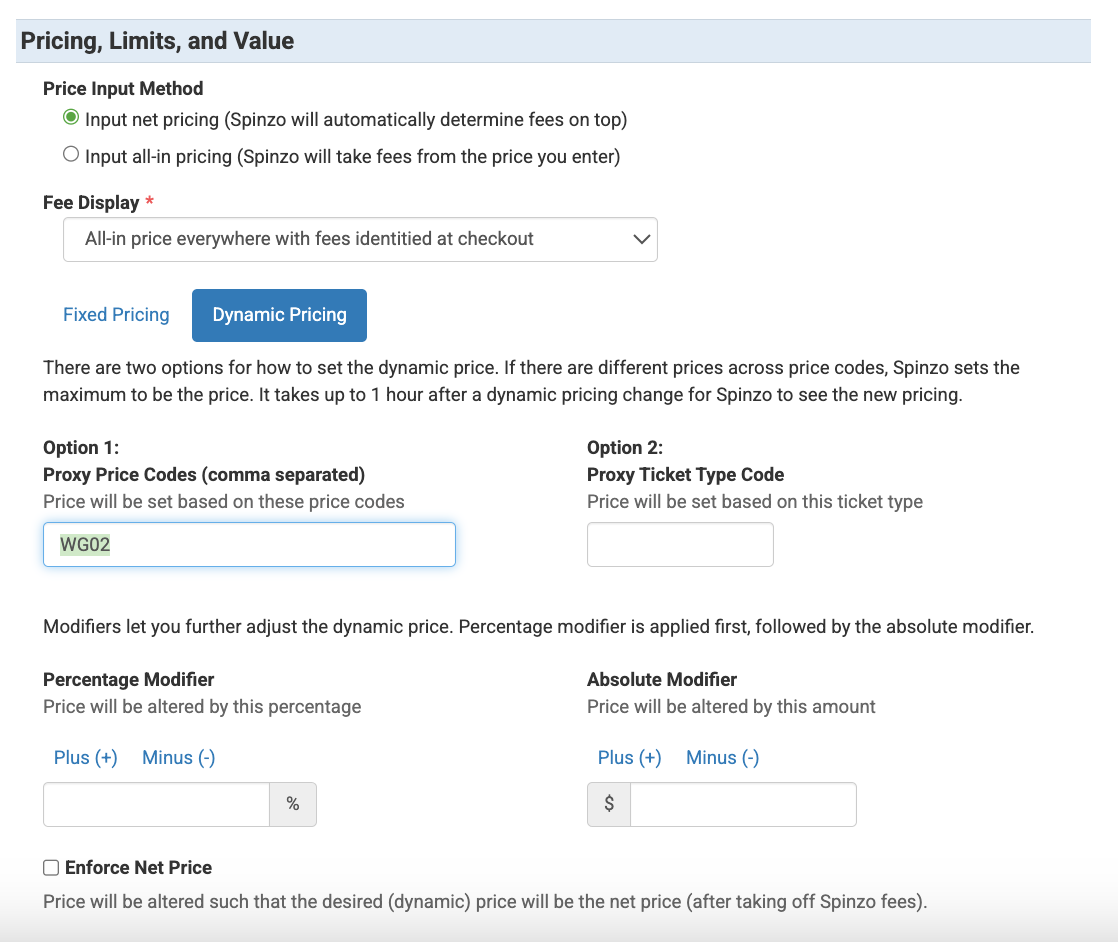
For dynamic pricing, toggle over to the Dynamic Pricing option and enter a "Proxy Price Code" to follow. Note: The customer will be charged whatever current price the "Proxy Price Code" is in Archtics.
Dynamic Pricing Example
Step 8: Confirm everything looks correct and click "Save."